Author email |
|
PyMoDAQ version |
4.4 |
Operating system |
Ubuntu 24.04 |
Last update |
May 2025 |
Difficulty |
Easy |
Cost |
400€ |
4.2. Read a Basler camera
In this example of use, we will see how to interface a Basler acA640-121gm camera with PyMoDAQ. This camera is quite cheap (about 300€) and commonly used for example to image a laser beam. However, the procedure we will describe in the following should work for any Basler camera, as Basler provides a common software interface called Pylon.
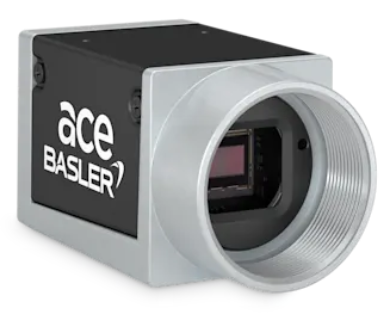
Fig. 4.11 Basler camera.
This camera uses the very nice PoE (power over ethernet) technology that allows to transfer data AND power with a single standard ethernet cable. We highly recommend to use ethernet connexion rather than USB, because the stability of the communication is much higher, and you can use a cable as long as you want! It is not the industrial standard for nothing. We will see that it only requires to be careful to buy the correct ethernet switch.
Note
This documentation is presented for Ubuntu, but the procedure should be very similar for Windows.
4.2.1. Connect the camera to the computer
With PoE, the connection of the camera to the computer is a bit more complicated than with USB. We will need to make a local network with the computer and the camera. This is quite scary at first sight, since it requires more skills than plugging a simple USB that is automatically configured. We will see in this example that it can actually be quite simple. It is worth making the effort because the reward is high. After experiencing PoE, it is not possible to go back to USB, guaranteed ;)
Here is a scheme of the network.

Fig. 4.12 Local network to connect the camera to the computer. RJ45 = standard ethernet cable. The additional network interface controller (NIC) is necessary only if your computer has only one embedded NIC (only one ethernet plug) that should be kept for internet connexion.
First we need to purchase a PoE switch, we recommend for example the DLink DGS-1008P , which has 4 PoE ports (we can eventually plug up to 4 cameras) and 4 standard ethernet ports. The “unmanaged” option may be important since it requires less configuration. The device is about 70€.
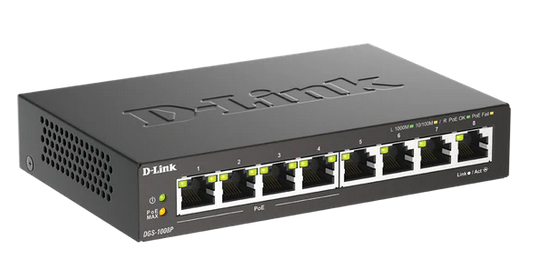
Fig. 4.13 DLink DGS-1008P. The 4 left ports are PoE, the 4 right ports are standard.
If our computer has only one ethernet plug (one embedded NIC) and we want to keep it for our internet connexion, we recommend to use an external NIC that can be plugged on a USB port of our computer. This device is about 30€.
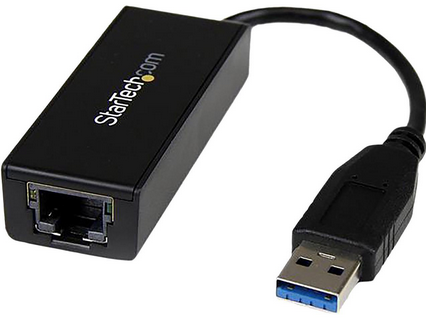
Fig. 4.14 Startech USB 3.0 to Gigabit Ethernet NIC adapter.
Once our local network is built, we can proceed to the software installation.
4.2.2. Install the driver from Basler
We first have to download the Pylon software from Basler. In our case, since we are on Ubuntu, which is a Debian-based Linux distribution, we will choose the Debian installer. Most probably, our processor architecture is x86_64, but we can check that with the uname -m command. So we are going to click on the link framed in red.

Fig. 4.15 Download Pylon software.
After filling a simple form, we can download the software. We will found, probably in our download folder, an archive named pylon-8.1.0_linux-x86_64_debs.tar.gz. Let’s right click and Extract, go into the folder and double-clic the pylon_8.1.0-deb0_amd64.deb file. It will open the App Center of Ubuntu. Then click Install.
The installer created a pylon folder in the /opt directory. Important executable files are in the /bin subdirectory, we will be particularly interested in the PylonGigEConfigurator. Let’s right click on this file, and in Properties tick Executable as program.
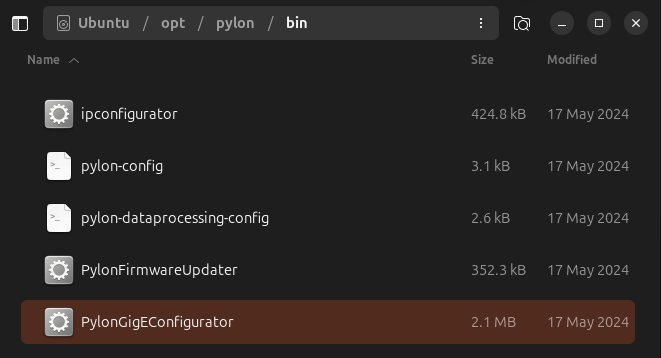
Fig. 4.16 Pylon /bin subdirectory.
Note
bin stands for binary which means executable files. They are programs that are directly readable by the machine.
Let’s open a terminal and cd into this directory to run this binary file with the auto-ip option. This program will automatically scan our local network to see if there are Basler cameras plugged and attribute them an IP address.

Fig. 4.17 Run the PylonGigEConfigurator executable. It has seen our camera!
Now that the communication with our camera has been established, let’s read it with PyMoDAQ!
4.2.3. Install PyMoDAQ
The installation of PyMoDAQ is quite standard and mainly described in the Quick start.
We follow this procedure:
Install Miniforge.
Create a new Python environment with version 3.11 and activate it.
Install pymodaq version 4.4.7 (pip install pymodaq==4.4.7) in the new environment and pyqt5
Let’s be careful with the few extra command lines for installing on Ubuntu.
Install pymodaq_plugins_basler
We should check that our environment also contains numpy and pypylon with a mamba list command. They should have been installed since they are dependencies of pymodaq_plugins_basler. pypylon is the Python wrapper of Pylon provided by Basler.
4.2.4. Launch a 2D viewer
Once the installation is complete, let’s run a
daq_viewer
and follow those steps:
Select DAQ2D, since we are dealing with a camera
Select Basler as a detector. A list of cameras should appear in the detector settings.
Click Init detector. If the LED turns green it is a good sign ;)
Hit Snapshot.

Fig. 4.18 Focus of an HeNe laser on the chip.
This image has been acquired by focussing an HeNe laser on the chip of the camera.
Warning
Let’s be careful to attenuate at maximum our laser before doing that!
The crosshair is a useful tool to check that you do not saturate the detector for example.
The histogram will allow you to change the colorbar and the saturation of the representation of the detector data.
Warning
Be careful to not reduce too much the exposure time otherwise we may use all the resources of the computer and make it crash. 200ms is a good start!
On Ubuntu, the System monitor can help us to directly visualize the CPU and RAM memory currently used.
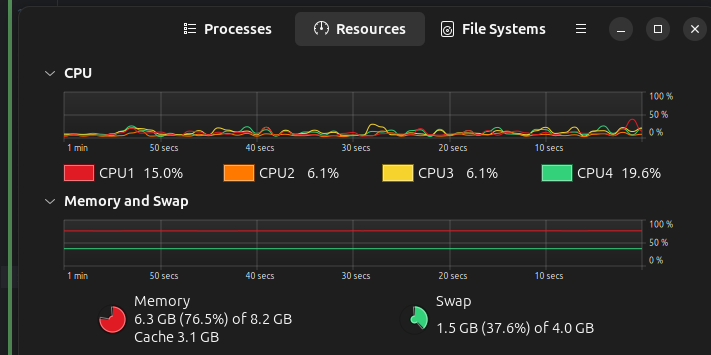
Fig. 4.19 System monitor on Ubuntu.
That’s it! :)
4.2.5. Acknowledgements
We acknowledge the great work of the Basler company for providing a Linux-compatible driver and an open-source Python wrapper directly available on PyPI. An example to be followed!
We also thank Benedikt Burger, Romain Géneaux and Sébastien Weber for the development of the Basler plugin.